In my previous post we talked about AutopilotOOBE and how to manually install and run the module.
But lets same ourselves some time and create a CMD file that can install and run the module for us.
Additional Information
This is straight from the documentation of AutopilotOOBE.
What are we going to do?
We’ll add a step to our ConfigMgr Task Sequence to create the CMD file.
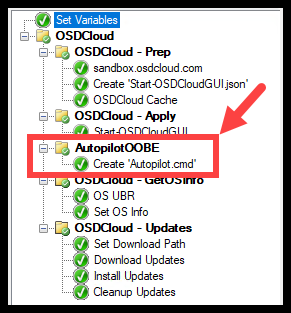
Create ‘Autopilot.cmd’
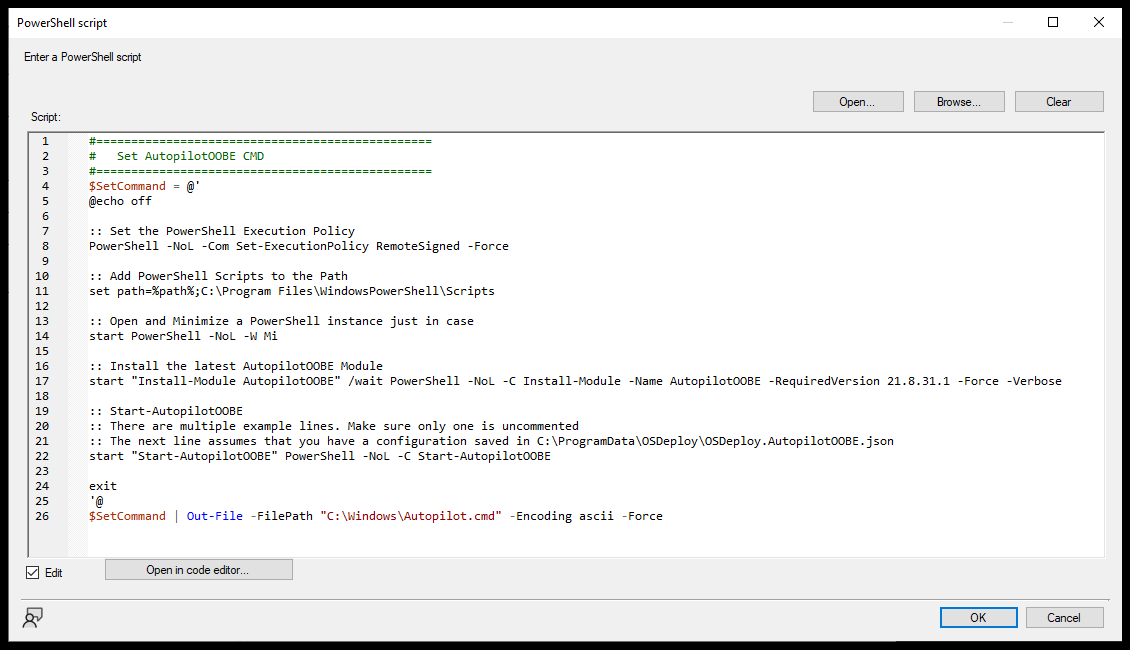
We can utilize the below script to create the ‘Autopilot.cmd’ file. The script will:
- Set Execution Policy
- Add PowerShell Scripts to the ‘Path’
- Install the AutopilotOOBE PowerShell Module
- In this script, we are specifically installing version 21.8.31.1
- As of this writing, this is the newest version on PSGallery that has the ‘AssignedUser’ option
- Start-AutopilotOOBE
#================================================
#   Set AutopilotOOBE CMD
#================================================
$SetCommand = @'
@echo off

:: Set the PowerShell Execution Policy
PowerShell -NoL -Com Set-ExecutionPolicy RemoteSigned -Force

:: Add PowerShell Scripts to the Path
set path=%path%;C:\Program Files\WindowsPowerShell\Scripts

:: Open and Minimize a PowerShell instance just in case
start PowerShell -NoL -W Mi

:: Install the latest AutopilotOOBE Module
start "Install-Module AutopilotOOBE" /wait PowerShell -NoL -C Install-Module -Name AutopilotOOBE -RequiredVersion 21.8.31.1 -Force -Verbose

:: Start-AutopilotOOBE
:: There are multiple example lines. Make sure only one is uncommented
:: The next line assumes that you have a configuration saved in C:\ProgramData\OSDeploy\OSDeploy.AutopilotOOBE.json
start "Start-AutopilotOOBE" PowerShell -NoL -C Start-AutopilotOOBE

exit
'@
$SetCommand | Out-File -FilePath "C:\Windows\Autopilot.cmd" -Encoding ascii -Force
Add this to the Task Sequence
Download the Full Task Sequence OSDCloudGUI_Settings_Updates-AutopilotOOBE.zip
Or from Github https://github.com/MichaelEscamilla/MichaelTheAdmin
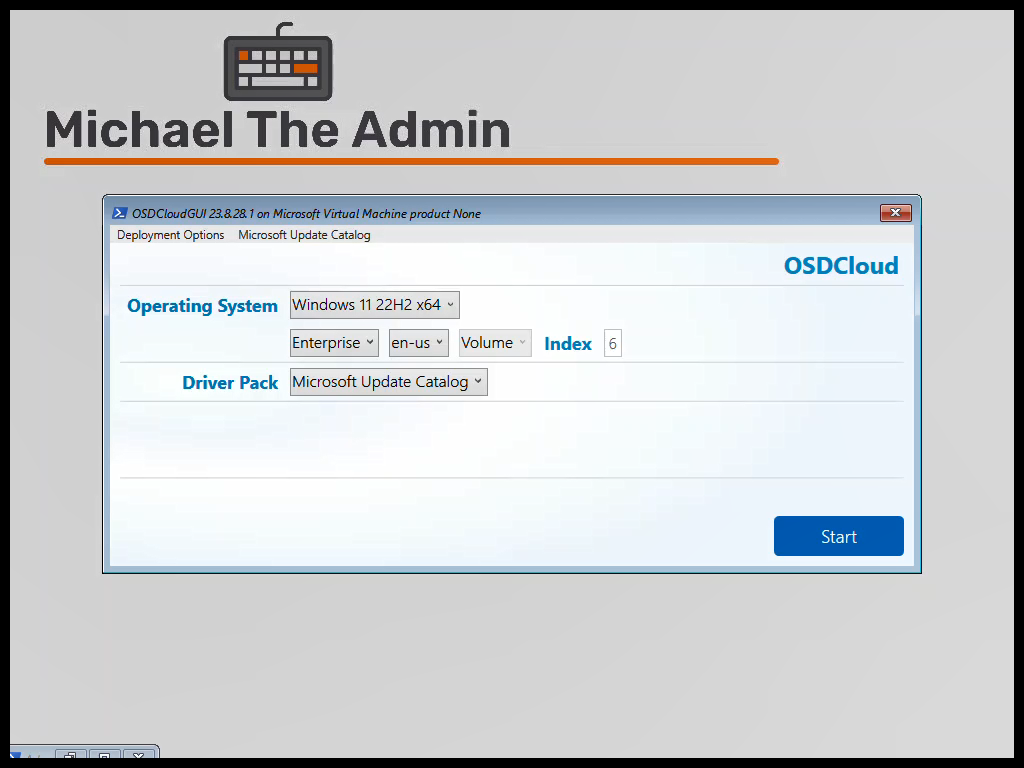
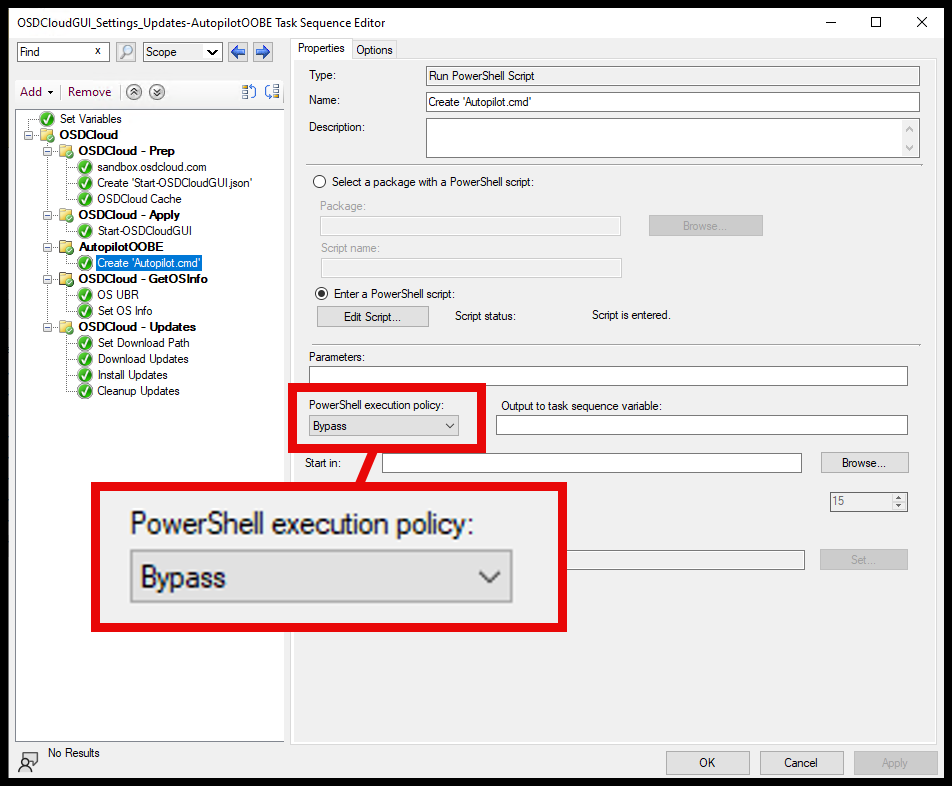
- Add a ‘Run PowerShell Script’ step
- This step needs to be after the ‘Start-OSDCloudGUI’ step
- This is because the file needs to be created within the new OS
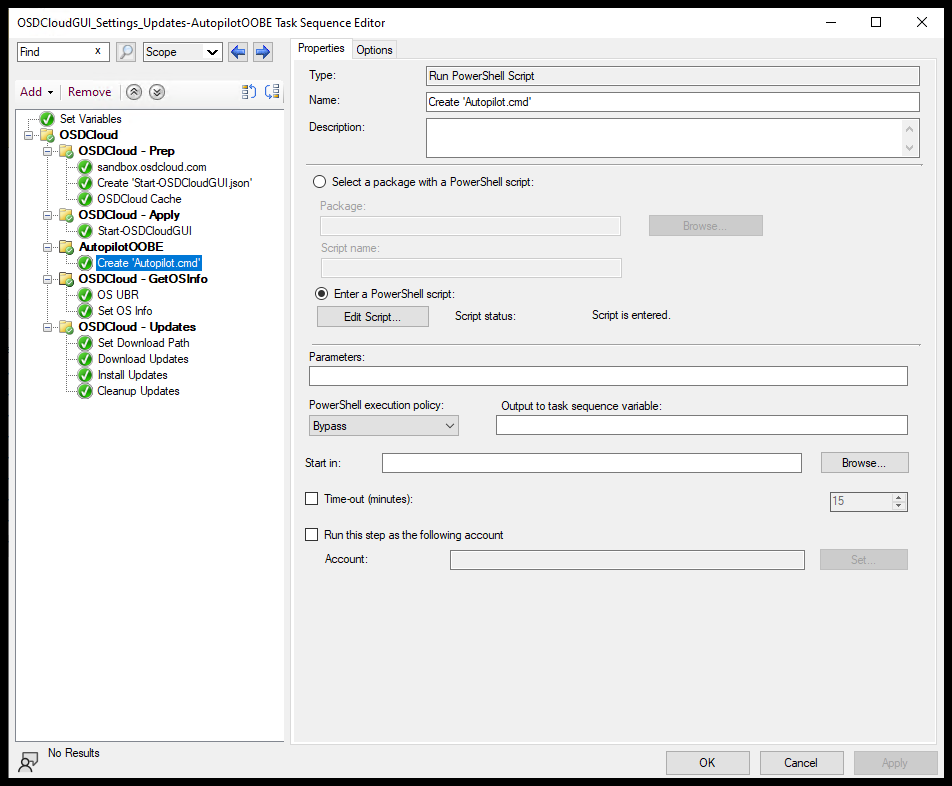
- Set the Execution Policy to Bypass
- Select ‘Enter PowerShell script:’
- Then select ‘Edit Script…’
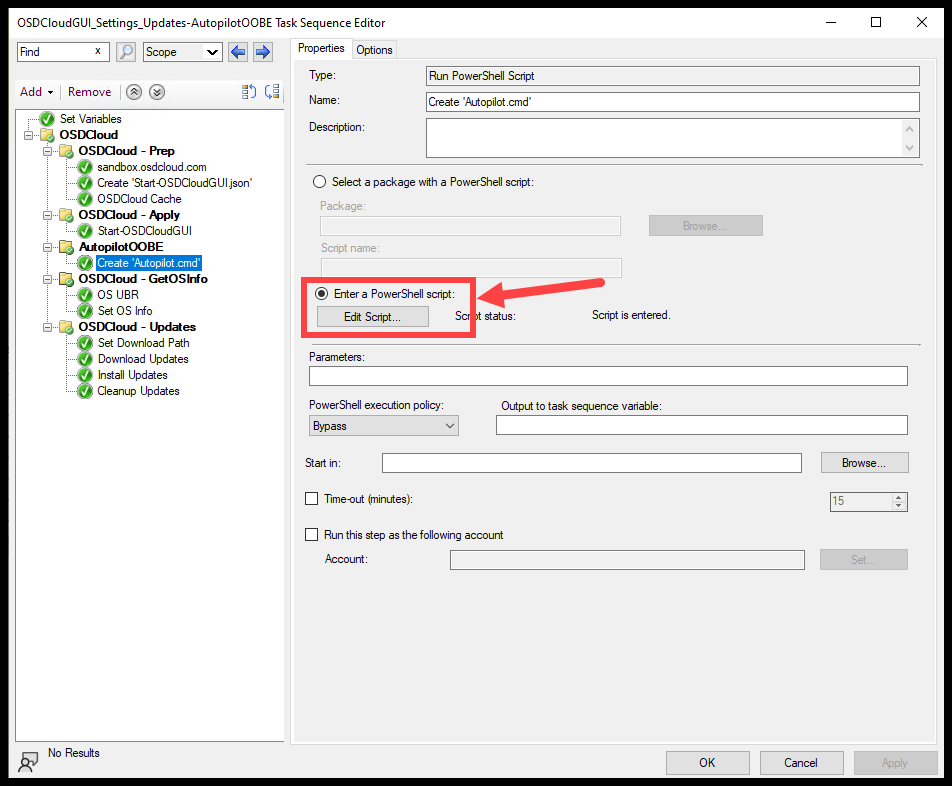
- Paste the script into the prompt, and select ‘OK’
Save the changes, Deploy the Task sequence if it isn’t already.
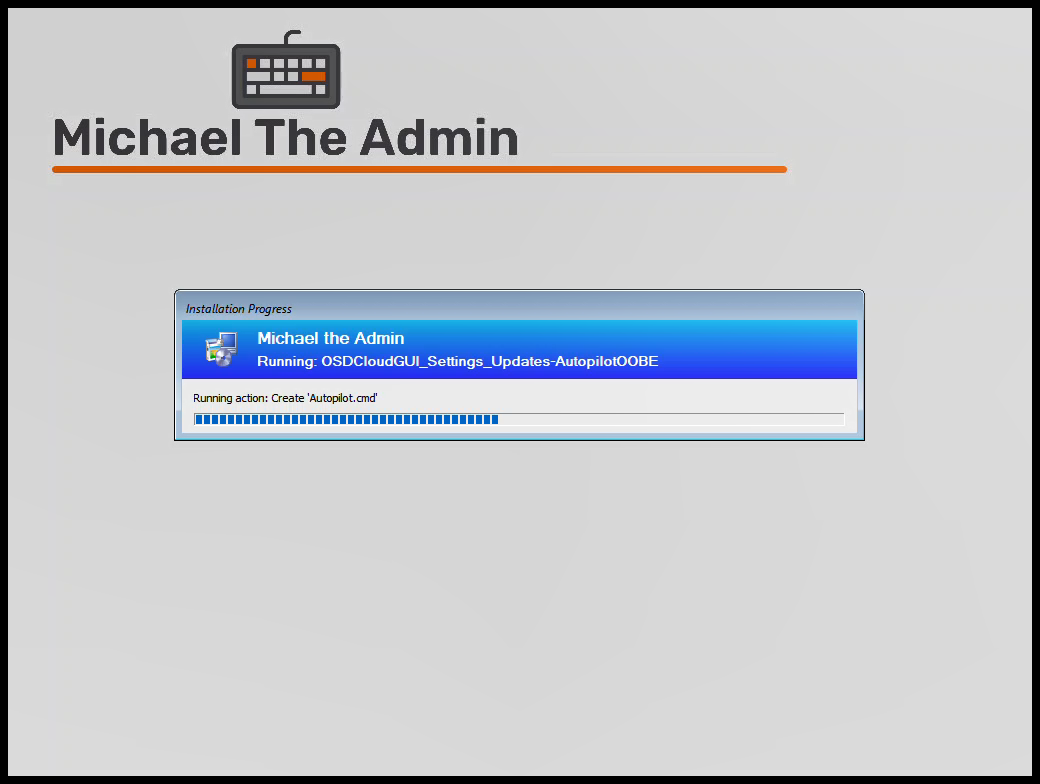
Run the Task Sequence
You should see the step run after the ‘Start-OSDCloudGUI’ step
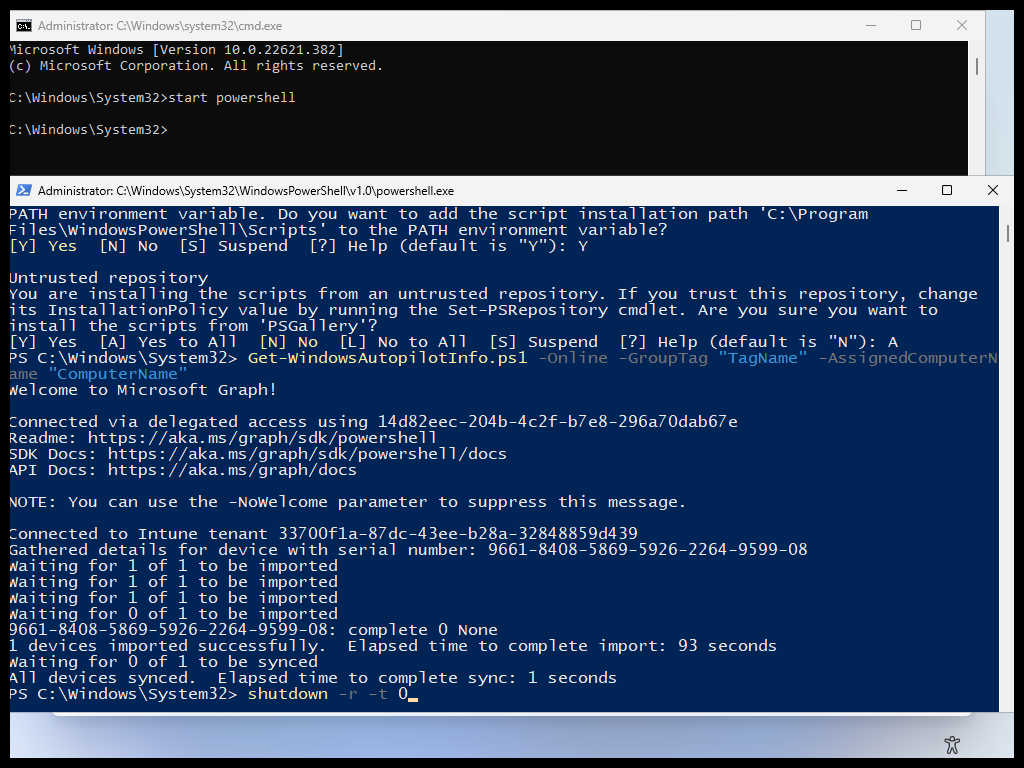
Once you are at the OOBE screen
- (Shift + F10) to get the cmd
- Type:
autopilot
Success
Now your techs can save valuable time not having to manually type out the commands to install the AutopilotOOBE module.