
In my previous post, we talked about AutopilotOOBE and how to manually install and run the module.
But lets same ourselves some time and create a CMD file that can install and run the module for us.
Additional Information #
This is straight from the documentation of AutopilotOOBE.
What are we going to do? #
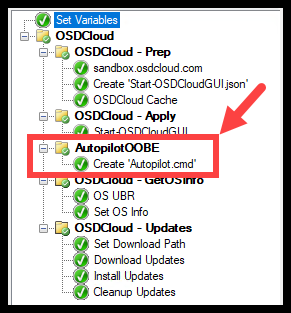
We’ll add a step to our ConfigMgr Task Sequence to create the CMD file.

Create ‘Autopilot.cmd’ #
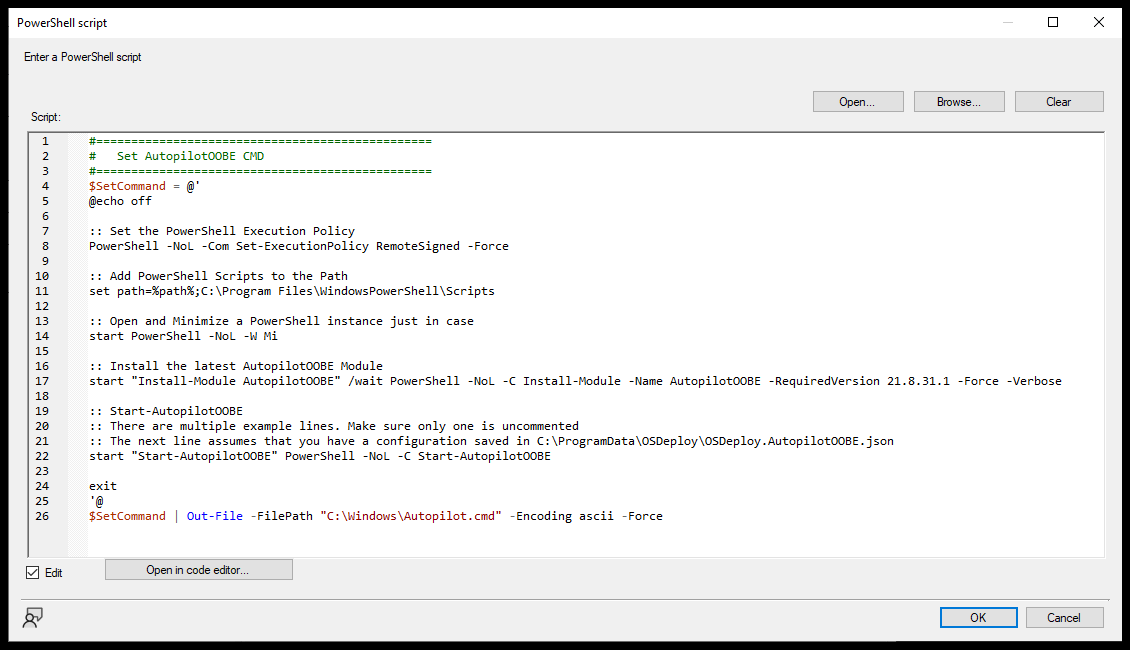
We can utilize the below script to create the ‘Autopilot.cmd’ file. The script will:
- Set Execution Policy
- Add PowerShell Scripts to the ‘Path’
- Install the AutopilotOOBE PowerShell Module
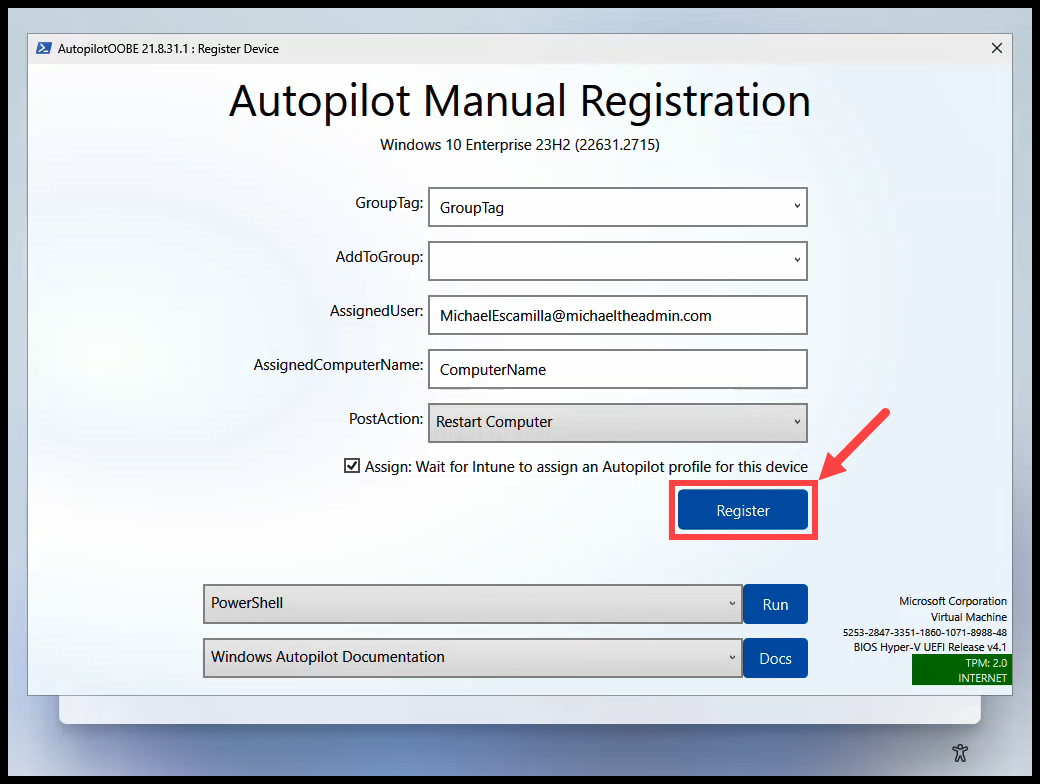
- In this script, we are specifically installing version 21.8.31.1
- As of this writing, this is the newest version on PSGallery that has the ‘AssignedUser’ option
- Start-AutopilotOOBE
#================================================
#   Set AutopilotOOBE CMD
#================================================
$SetCommand = @'
@echo off

:: Set the PowerShell Execution Policy
PowerShell -NoL -Com Set-ExecutionPolicy RemoteSigned -Force

:: Add PowerShell Scripts to the Path
set path=%path%;C:\Program Files\WindowsPowerShell\Scripts

:: Open and Minimize a PowerShell instance just in case
start PowerShell -NoL -W Mi

:: Install the latest AutopilotOOBE Module
start "Install-Module AutopilotOOBE" /wait PowerShell -NoL -C Install-Module -Name AutopilotOOBE -RequiredVersion 21.8.31.1 -Force -Verbose

:: Start-AutopilotOOBE
:: There are multiple example lines. Make sure only one is uncommented
:: The next line assumes that you have a configuration saved in C:\ProgramData\OSDeploy\OSDeploy.AutopilotOOBE.json
start "Start-AutopilotOOBE" PowerShell -NoL -C Start-AutopilotOOBE

exit
'@
$SetCommand | Out-File -FilePath "C:\Windows\Autopilot.cmd" -Encoding ascii -Force
Add this to the Task Sequence #
Download the Full Task Sequence
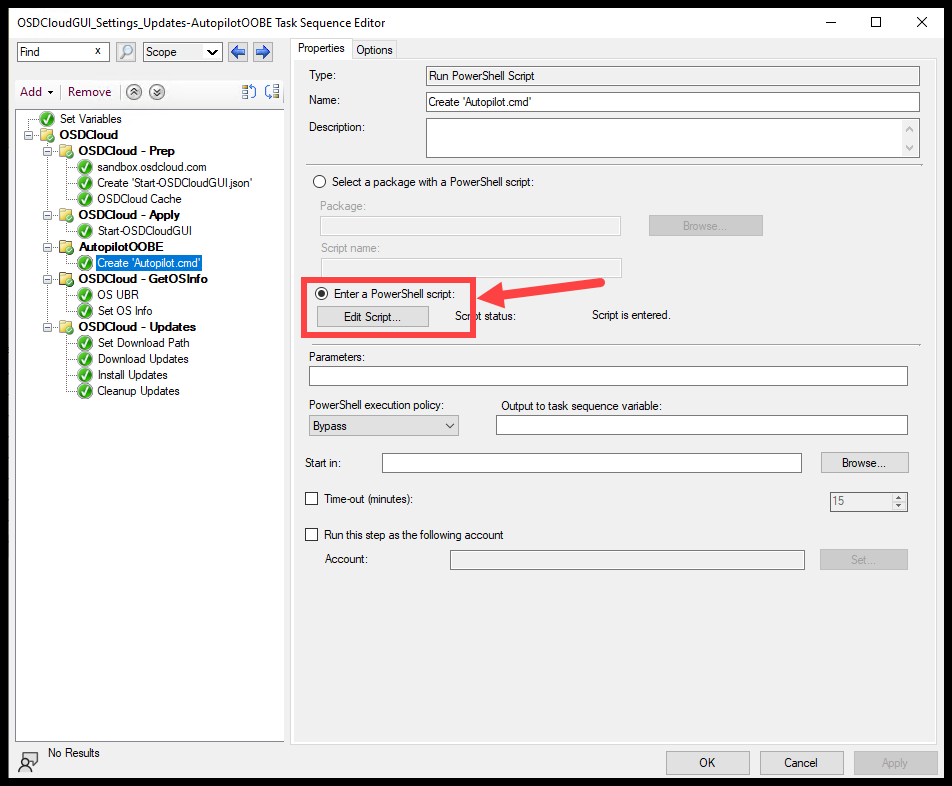
- Add a ‘Run PowerShell Script’ step
- This step needs to be after the ‘Start-OSDCloudGUI’ step
- This is because the file needs to be created within the new OS
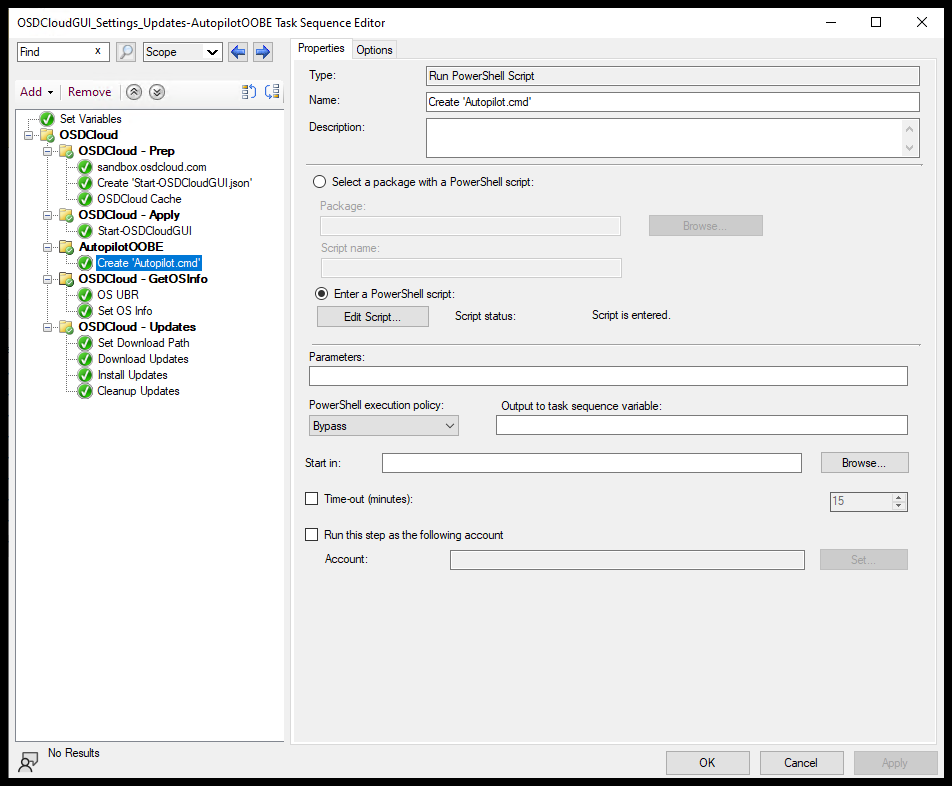
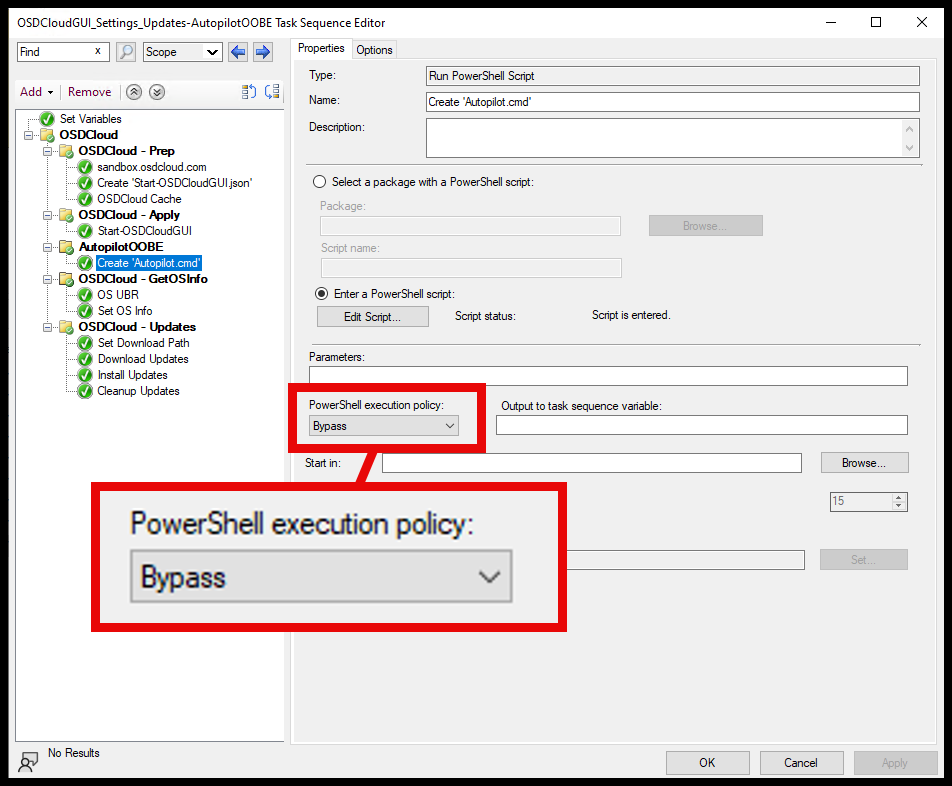
- Set the Execution Policy to Bypass
- Select ‘Enter PowerShell script:’
- Then select ‘Edit Script…’
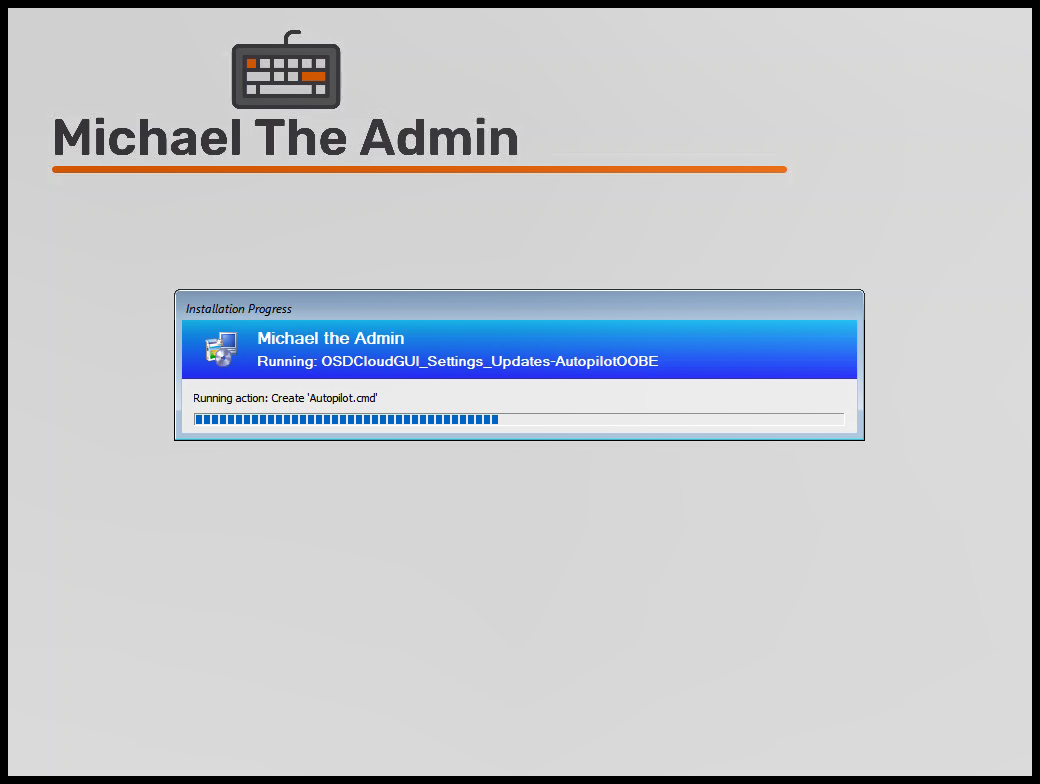
Run the Task Sequence #
You should see the step run after the ‘Start-OSDCloudGUI’ step
- (Shift + F10) to get the cmd
- Type:
autopilot
Success #
Now your techs can save valuable time not having to manually type out the commands to install the AutopilotOOBE module.